05.05.2020 | 3ds Max - Modeling a Lamp
Introduction to 3ds Max program.

Basic tools and menus explained.
The exercise of the first lesson, in order to start understanding 3ds Max, was the creation of a lamp.
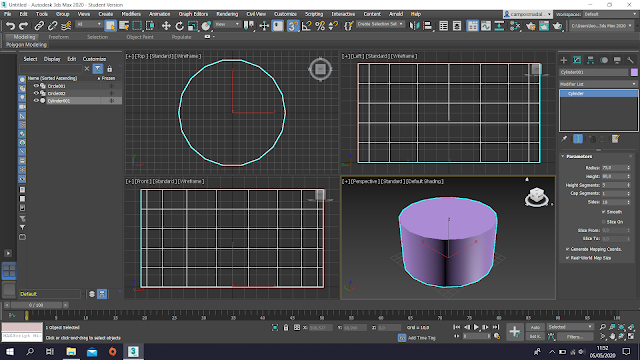
In the right hand tool bar we used the shapes and selected the cylinder in the standard primitives.
Using the three point toggle, the three-dimensional cylinder is placed in the centre with a given radius and height.

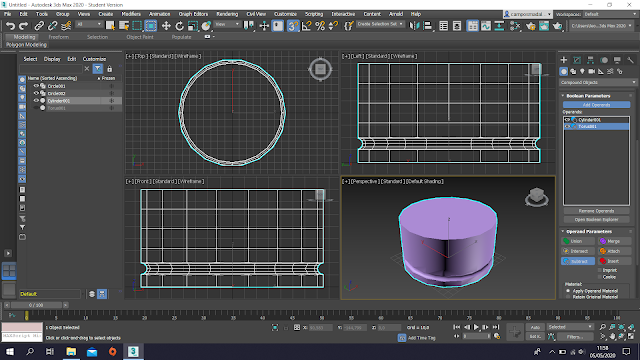
Another shape, named torus, is placed at the bottom of the cylinder.

Using the bolean operations in the compound objects the torus was subtracted from the cylinder, leaving an indentation.
After selecting the modify tool on the main cylinder, the command taper was used in order to curve the edges on the upper part of the cylinder.
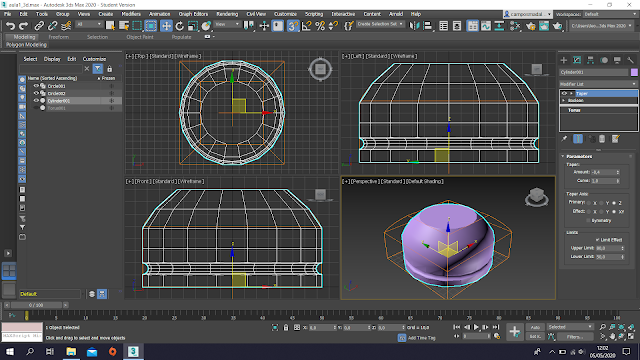

After selecting the modify tool on the main cylinder, the command taper was used in order to curve the edges on the upper part of the cylinder.

For the button a smaller cylinder was created, at the edge of the main cylinder, using the same process. A cylinder with fewer faces is then placed on this small cylinder to represent a hexagon shape “better for grip”.


A flame was created using another cylinder and the stretch tool. After this, the noise tool was used to create an irregular shape.


Then, using the command Lathe, a "glass" cover for the flame was placed on top of it.

The lamp is then placed on top of a table with two walls, to create a scene.


Then, using the command Lathe, a "glass" cover for the flame was placed on top of it.

The lamp is then placed on top of a table with two walls, to create a scene.

Comentários
Enviar um comentário